

- Home improvement tips
Painting Kitchen Walls and Ceiling
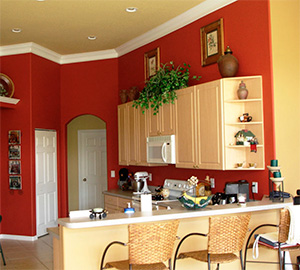 Advantages of Ceiling Paint
For the kitchen, latex or any water-based paint specifically developed for ceilings is an ideal choice. Ceiling paint has a formulation that drips less and dries faster than interior or wall paints. It also has a lower splatter factor than other interior paints. The finish of most ceiling paints is flat or matte, which helps to disguise defects. Ceiling paint is also less expensive than other high-end interior paints. Some ceiling paints are only available in white; if you desire a different hue, ask a store representative whether they have a tintable ceiling paint.
A stain-blocking, all-in-one ceiling primer and paint delivers a fresh new covering that hides hard-to-remove stains for a kitchen ceiling that appears grimy even after a complete cleaning.
Water-Based Interior Paints
Water-based interior paints, such as latex or latex enamel, are also suitable for use on a kitchen ceiling. As an extra bonus, there are a variety of color and sheen possibilities, which is useful if you don't want a matte white kitchen ceiling or if you want to match the ceiling and wall colors. Paints for the ceiling and walls can be applied with a brush, roller, or sprayer.
Choosing the Right Sheen
Flat paint is the least reflective in terms of paint sheen, or its ability to reflect light. The most reflective is high-gloss, which appears shiny when a lot of light hits it. The more glossy the paint, the more washable it is and the more flaws it will reveal. A flat or matte paint is ideal for the ceiling in many spaces because it does not require frequent cleaning. A more washable paint is recommended if the kitchen ceiling appears oily from spatters over the stove area.
For a more lasting coating that doesn't shine much, choose an eggshell finish, which is approximately as shiny as an actual eggshell. Satin or semi-gloss paint is even easier to clean, but it will highlight many of the defects in the ceiling. Satin or semi-gloss are good choices if your ceiling is perfectly smooth. Matte ceiling or wall paint is a wonderful alternative for a popcorn ceiling or a surface with multiple dips or faults. Look for a water-based paint that can be washed. If the can is washable, it will state so on the label.
 balance between price, efficacy and custom layout.
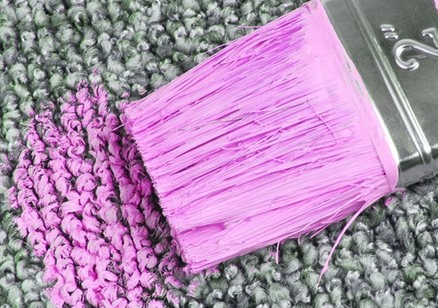 Latex Paint
 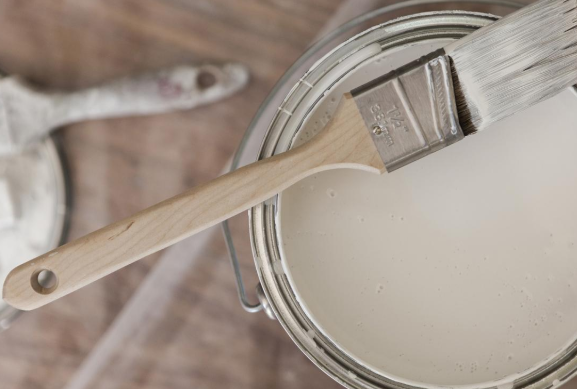 Cleaning Rollers
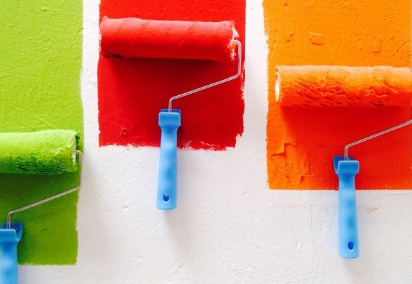 Non poisonous paints are liberated from synthetic compounds that are in any case unsafe to nature or could for all time or incidentally influence the wellbeing of the house occupants. Adhering to that definition, we can trim down non lethal paints to three fundamental sorts: normal paints, low VOC paints, and zero VOC paints. Here's a concise clarification of each kind.